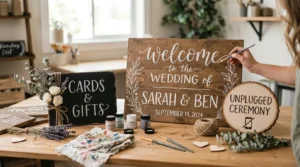
There is something about a handmade wedding sign that a printed banner simply cannot replicate. The slight variation in lettering, the texture of real wood grain underneath chalk or paint, the way a hand-lettered welcome sign catches the afternoon light near the ceremony entrance — these are the details guests notice without knowing exactly why everything feels so warm and personal.
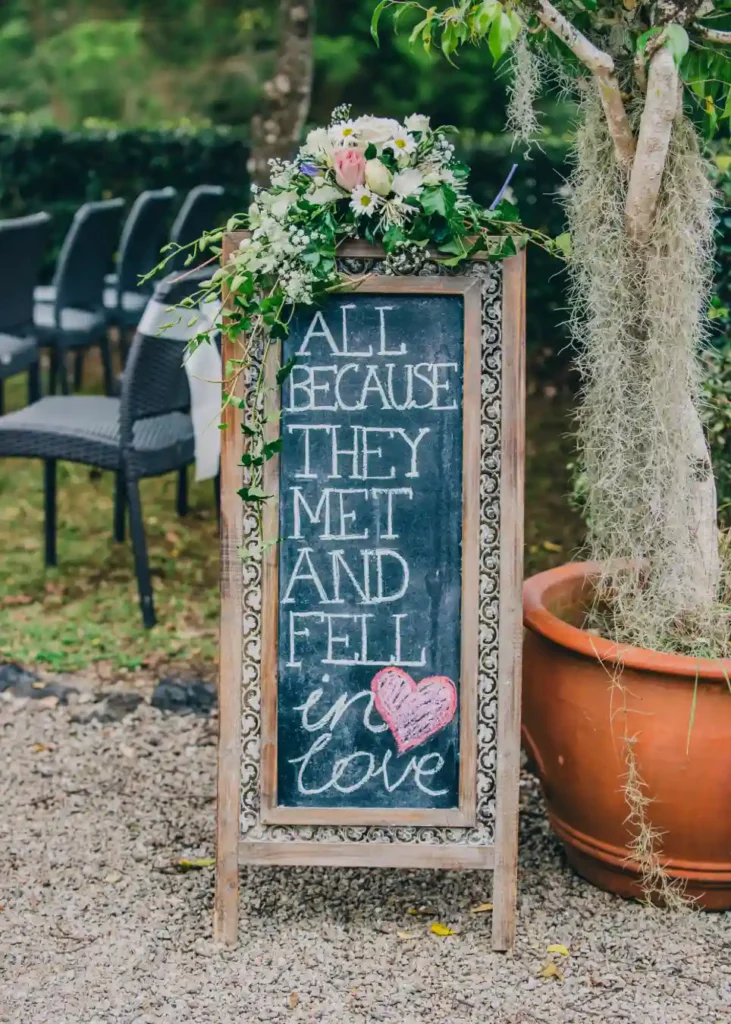
DIY wedding signs have become one of the most popular crafting projects for brides, maids of honor, and creative family members for a good reason. They are far more affordable than custom sign vendors, they can be tailored exactly to the wedding’s color palette and aesthetic, and the process of making them is genuinely enjoyable when you know what you are doing.
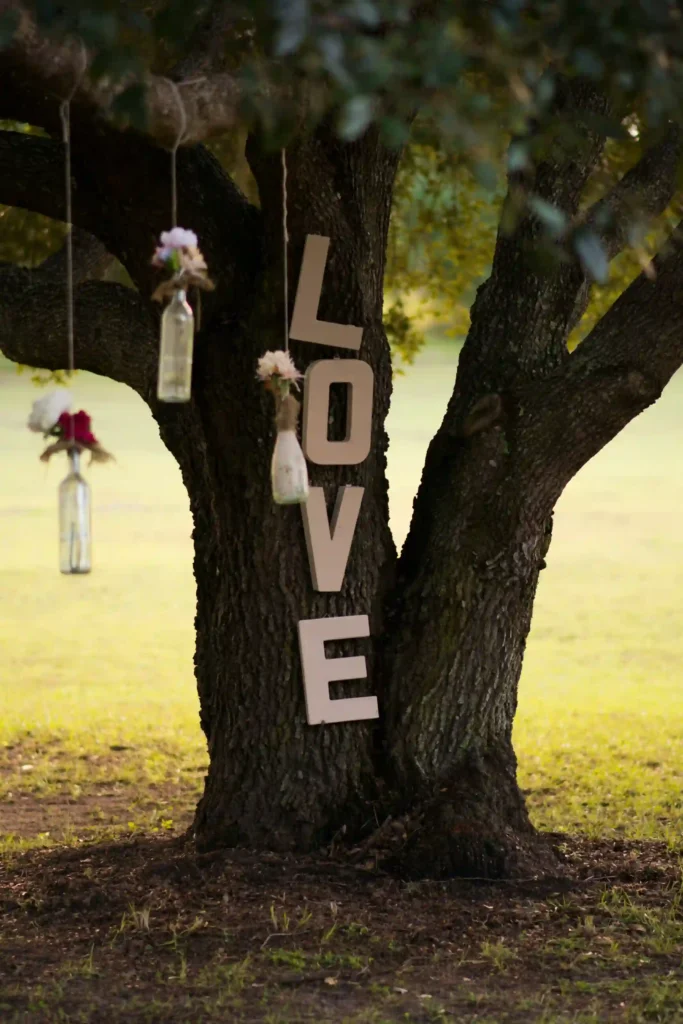
This guide covers everything — materials, techniques, sign types, lettering tips, and the mistakes most people make their first time — so your signs come out looking intentional, not homemade in the wrong way.
Why DIY Wedding Signs Are Worth the Effort
Custom wedding signage from professional vendors can cost anywhere from $40 for a small acrylic piece to several hundred dollars for a large painted wood welcome sign. A couple planning signage for their ceremony entrance, cocktail hour, seating chart, bar menu, dessert table, and send-off area could easily spend $500 to $800 on signs alone.
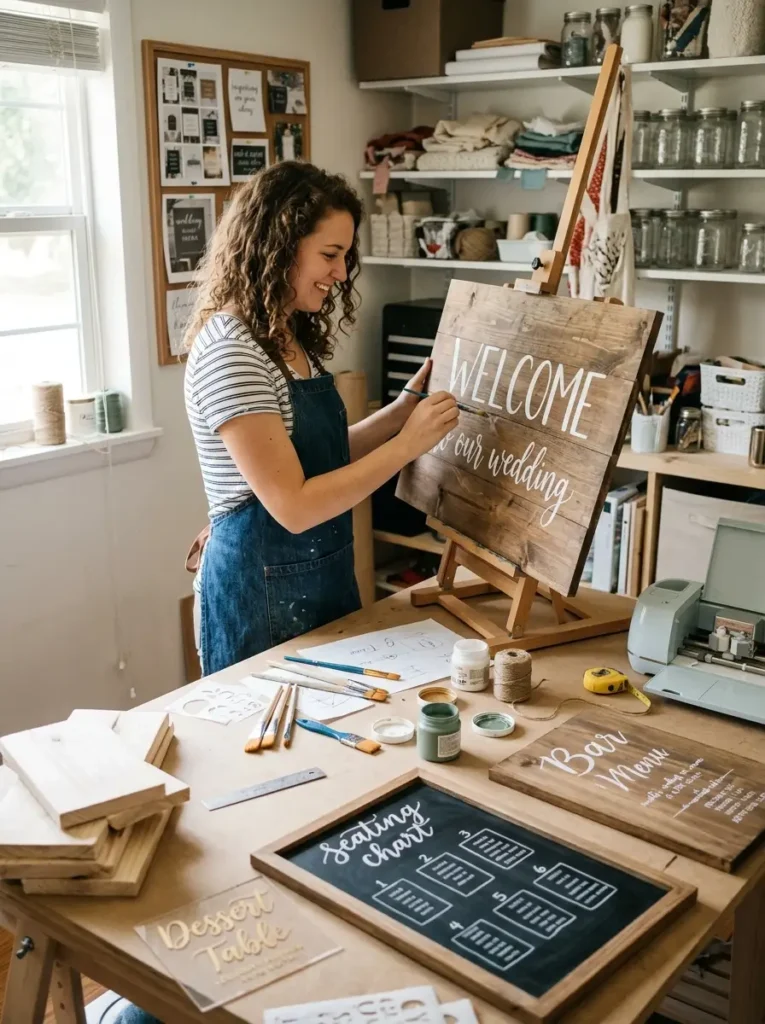
DIY brings that number down dramatically. A large piece of raw wood from a lumber yard or craft store runs $15 to $30. Chalk markers, acrylic paint pens, and basic supplies cost another $20 to $40 for the full project. With a weekend afternoon and some patience, you can produce the same result for a fraction of the price — and have a story to tell about it.
Beyond cost, there is a personalization factor that no vendor can fully match. You decide the exact font feel, the spacing, the wording, the finish. Your signs will not look like someone else’s wedding signs because they came from your hands and your choices.
Essential Supplies to Gather Before You Start
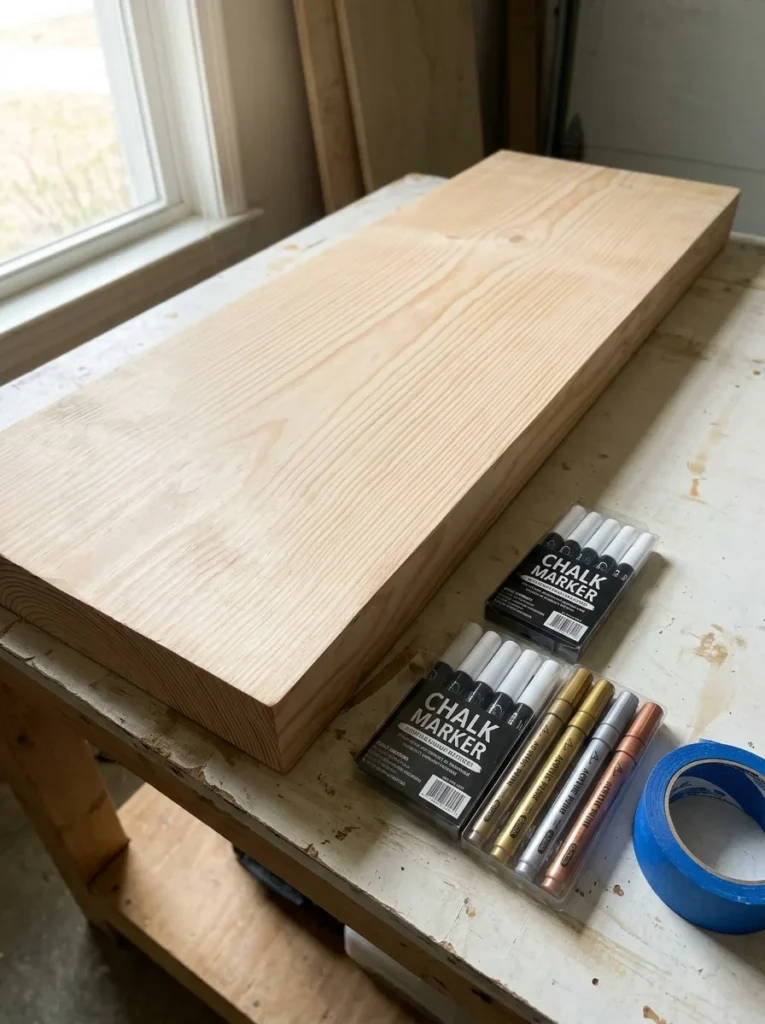
Getting the right materials makes the difference between a sign that looks polished and one that looks like a school project. Here is what you actually need:
Surfaces
- Raw wood boards — Pine, poplar, and cedar are all affordable and easy to work with. Unfinished boards from a hardware store can be sanded smooth and used as-is or painted.
- Plywood sheets — For larger signs like seating charts, a smooth plywood sheet is more stable and less prone to warping than individual boards.
- Foam board or foam core — Lightweight and easy to letter on, foam board works well for indoor signs that will not be handled frequently.
- Acrylic or Plexiglas sheets — For a modern, minimalist look. Clear acrylic with white or gold lettering is extremely popular right now.
- Chalkboard panels — Either pre-made chalkboard boards or surfaces treated with chalkboard paint. These give a classic, versatile look that works with nearly any color scheme.
- Mirror tiles — A full-length mirror or large mirror tile lettered with a welcome message or seating information looks striking and photographs incredibly well.
Writing and Painting Tools
- Chalk markers — Far superior to traditional chalk for wedding signs. They go on smooth, they don’t smudge during handling, and they photograph clearly. Molotow and Posca are reliable brands.
- Acrylic paint pens — Great for wood and foam board surfaces. They dry permanently, which matters if your signs will be used outdoors.
- Fine-tip paint brushes — For detailed lettering directly on wood when you want a painted look rather than a marker look.
- White paint markers — For dark surfaces, acrylic, or mirror signs. Uni Posca white markers are particularly well-regarded for clean lines.
- Gold and metallic markers — Add a touch of elegance to any surface. Particularly popular for acrylic signs.
Supporting Supplies
- Sandpaper (220 grit) — For smoothing raw wood before lettering.
- Wood stain or white paint — For prepping wood surfaces with a background color.
- Ruler and level — Essential for keeping lettering straight on large signs.
- Pencil — For light sketching before committing with markers or paint.
- Chalk — For laying out lettering on chalkboard surfaces before going over with chalk markers.
- Easels or wooden stakes — For displaying finished signs at the venue.
- Ribbon, greenery, or floral picks — For decorating the finished sign.
12 Wedding Sign Crafts to Make at Home
1. The Classic Wood Welcome Sign
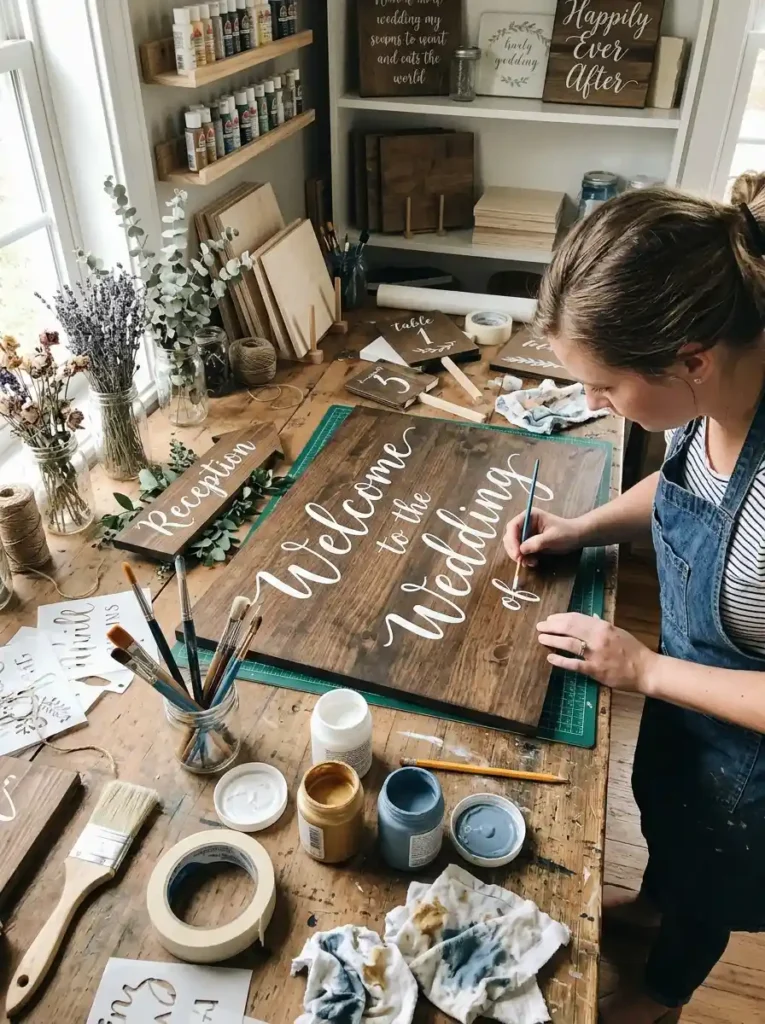
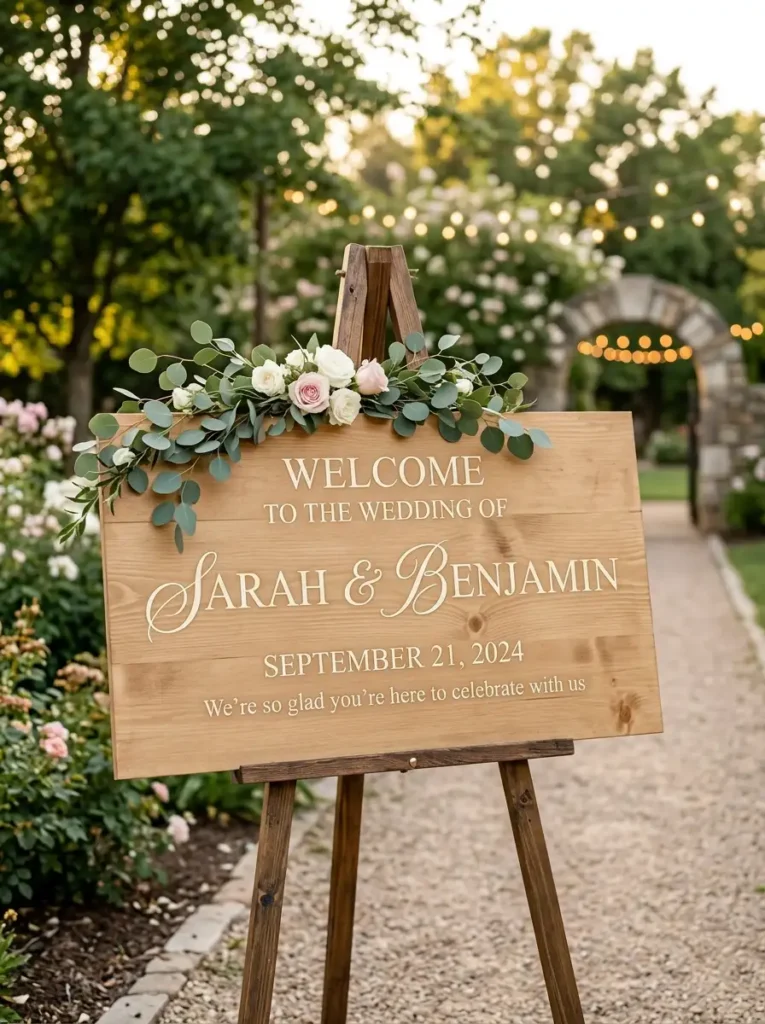
This is the centerpiece piece that greets guests as they arrive. A large raw wood board (roughly 18 by 36 inches or larger) sanded smooth and lettered with the couple’s names, wedding date, and a short welcome phrase is a timeless choice.
How to make it:
Sand the board thoroughly and wipe away dust. Apply a thin coat of white paint if you want a light, airy background, or let the natural wood grain show through. Sketch your layout in pencil first — names in large script across the center, date and welcome phrase in smaller print above and below. Go over your sketch with a white chalk marker or acrylic paint pen. Once dry, add a sprig of dried pampas grass, eucalyptus, or ribbon tied at the corner for a finishing detail.
Display tip: A tall wooden A-frame easel works best for welcome signs at the ceremony entrance. If the sign will be outside, seal it with a matte craft spray to protect against light weather. See more wedding sign ideas for better decor.
2. Acrylic Seating Chart Sign
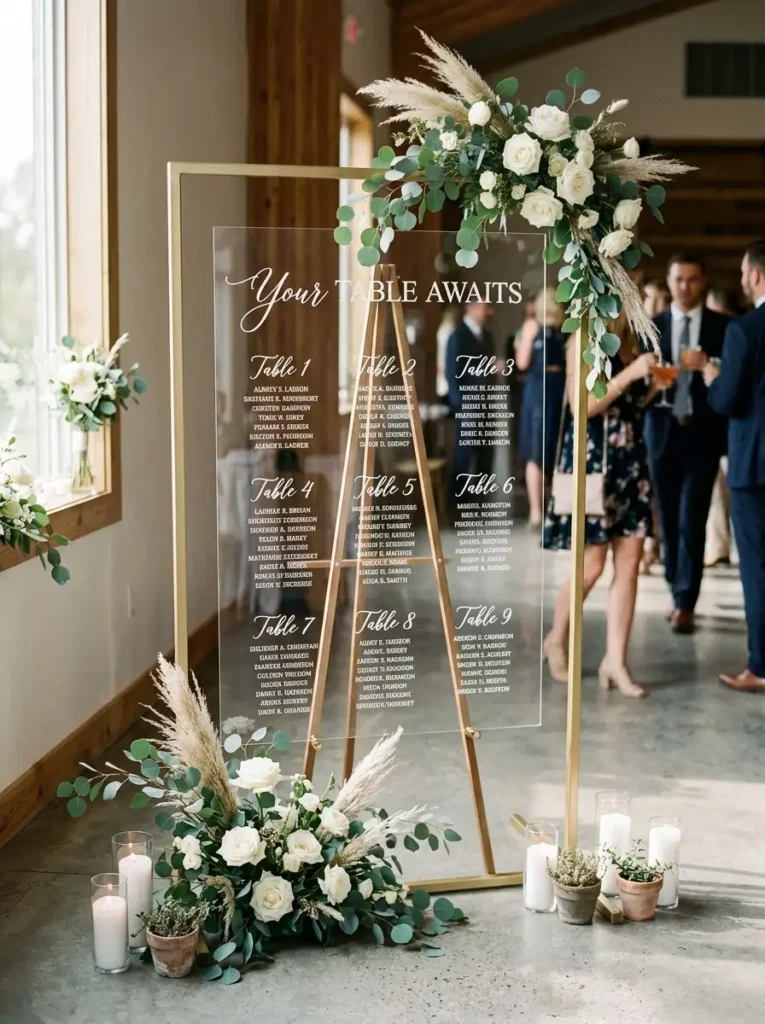
Acrylic seating charts have a clean, editorial quality that photographs beautifully. The transparency of the acrylic creates an almost frameless look, making the lettering appear to float.
How to make it:
Purchase a clear acrylic sheet cut to your desired size (most craft or glass shops will cut to order). Plan your layout in advance — arrange table names or numbers as headers with guest names listed beneath each. Use a white or gold paint marker to letter directly onto the acrylic. Work from top to bottom to avoid smudging. Let dry fully (at least 30 minutes) before handling.
Pro tip: Print your layout on paper first and tape it behind the acrylic as a guide. Letter directly over it, then remove the paper once dry.
3. Chalkboard Bar Menu Sign
A bar menu sign at the drink station tells guests what cocktails, wine, and beer are available — and when it looks good, it becomes part of the décor rather than just information.
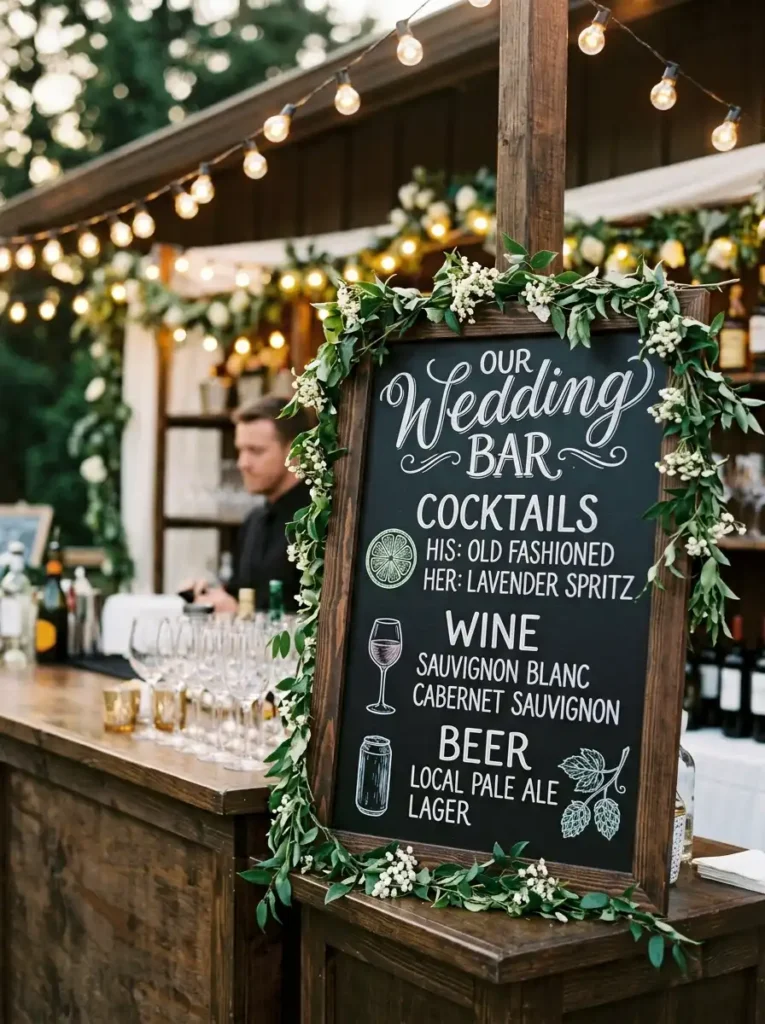
How to make it:
Start with a chalkboard panel or a piece of wood painted with chalkboard paint. Prepare the surface by rubbing the side of a chalk stick across the entire board and then erasing — this seasons the surface so future chalk markers erase cleanly. Sketch your menu layout in regular chalk first. Once satisfied with the spacing, go over everything with a chalk marker. Add a small illustrated detail (a wine glass outline, a simple leaf border) in a corner for visual interest.
Content suggestion: List your signature cocktail by name at the top with a brief description, followed by wine selections, beer options, and a non-alcoholic offering. Keep wording brief and friendly.
4. Mirror Table Seating Sign
For a romantic, slightly maximalist look, a large mirror lettered with seating information or a quote from the couple feels genuinely special. Guests almost always stop to look.
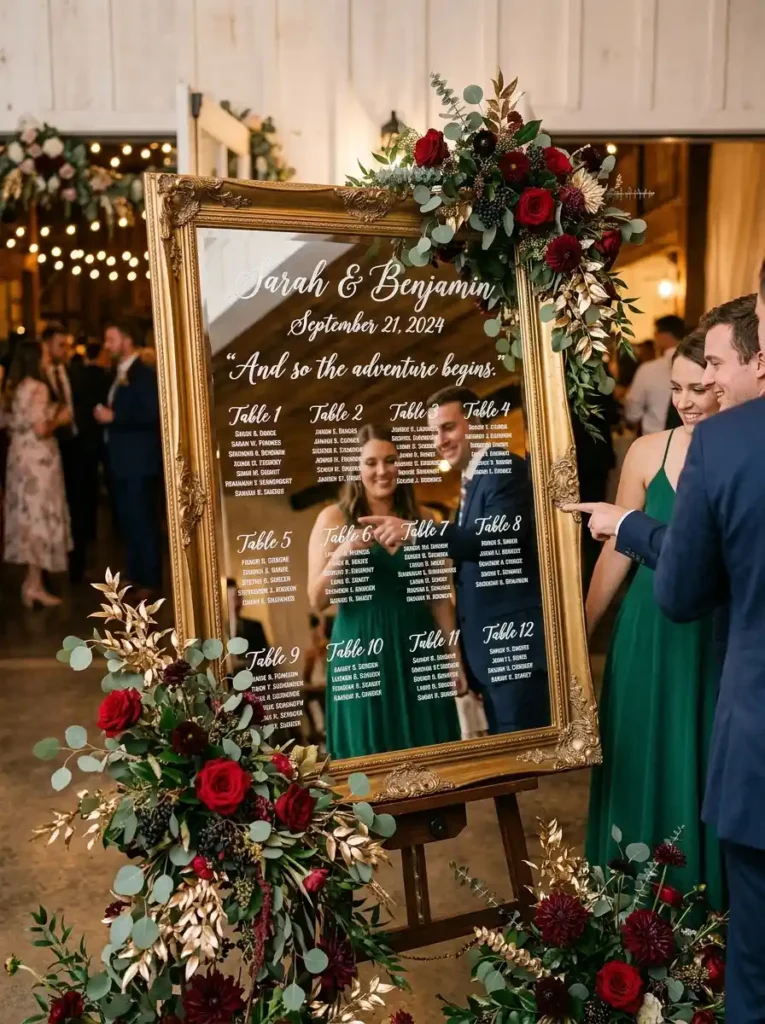
How to make it:
Use a full-length mirror or a large decorative mirror from a thrift store or home goods store. Clean the surface thoroughly. Letter the content using a white or gold paint marker. For stability, lean the mirror against a wall or solid surface at the venue and place a small decorative weight at the base if needed.
Best uses: Seating charts, welcome messages, love quotes, or program information for the ceremony.
5. Reserved Pew Signs
Small signs clipped or tied to the front pews or chairs let guests know which rows are saved for immediate family without awkward last-minute redirecting.
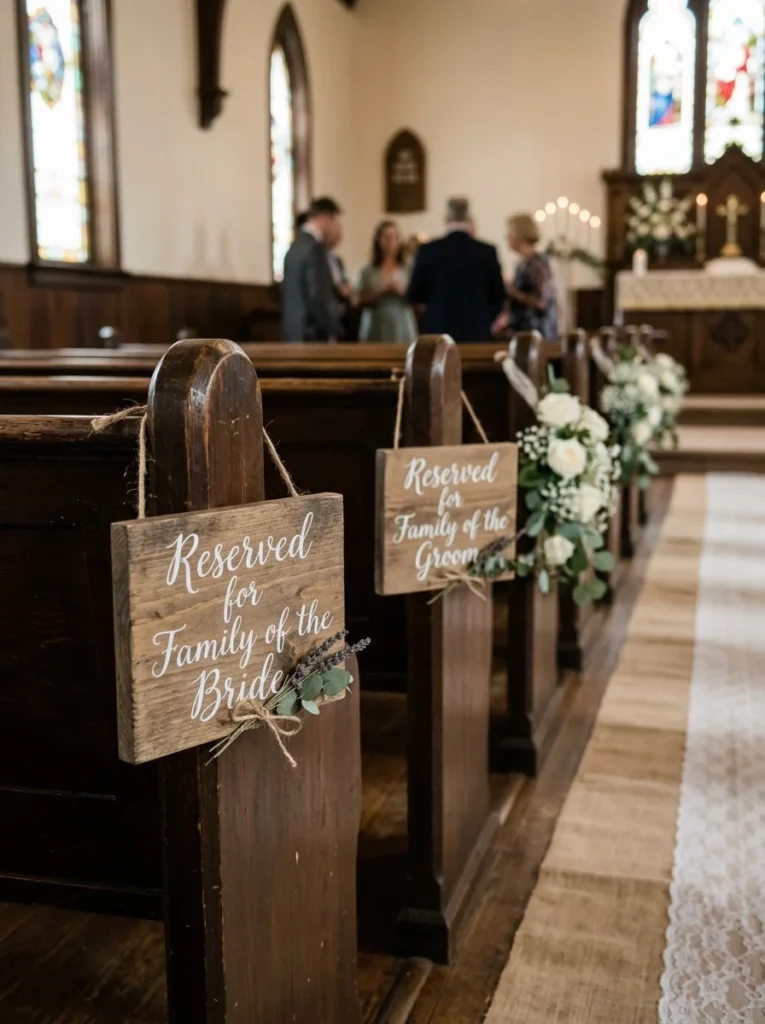
How to make it:
Cut small pieces of wood (roughly 4 by 6 inches) or use thick cardstock. Letter “Reserved” in a script style. Punch a small hole at the top and thread ribbon through for tying to chair backs or pew ends. For a coordinated look, make 6 to 10 at once and use the same ribbon color as the wedding palette.
6. Table Name or Number Signs
Individual table markers can be simple painted wood discs, mini frames with lettered cards, or small acrylic stands. When they match the overall sign aesthetic, the whole reception feels cohesive.
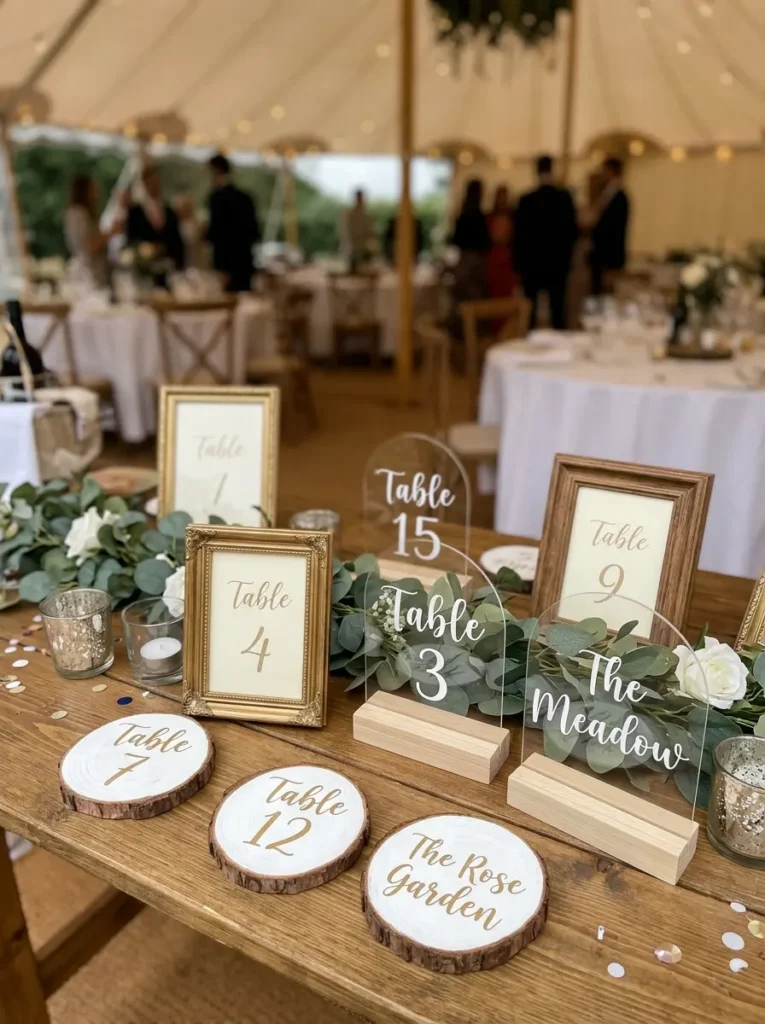
How to make it:
For wood disc signs, purchase pre-cut wood rounds (available at craft stores) and sand them smooth. Letter the table name or number with a paint pen in a consistent style across all your tables. For acrylic table markers, use small acrylic squares and gold paint markers.
7. Unplugged Ceremony Sign
An unplugged ceremony sign kindly asks guests to put their phones away during the ceremony so the photographer can capture the moment without a sea of screens.
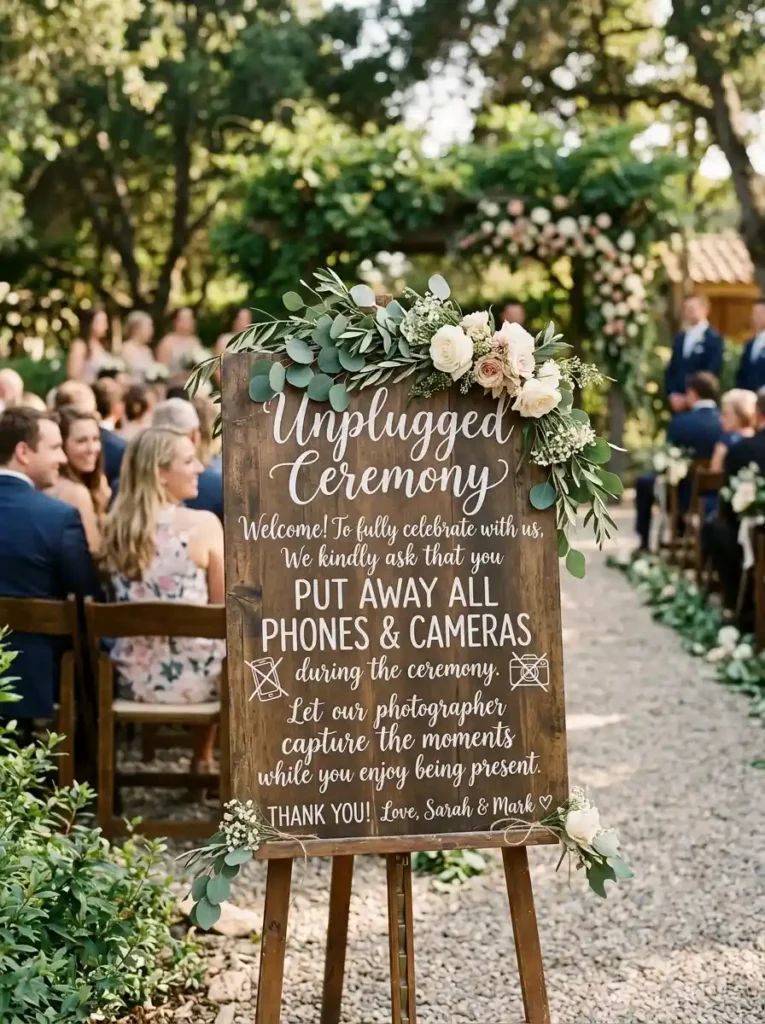
How to make it:
Use a medium-sized wood board or foam board. Keep the message warm and light — something like “We want to see your smiling faces, not your screens” feels more personal than a blunt instruction. Letter in a clear, readable script and display on an easel at the ceremony entrance.
8. Wedding Hashtag Sign
If the couple has a wedding hashtag for social media posts, a dedicated sign encourages guests to use it throughout the event.
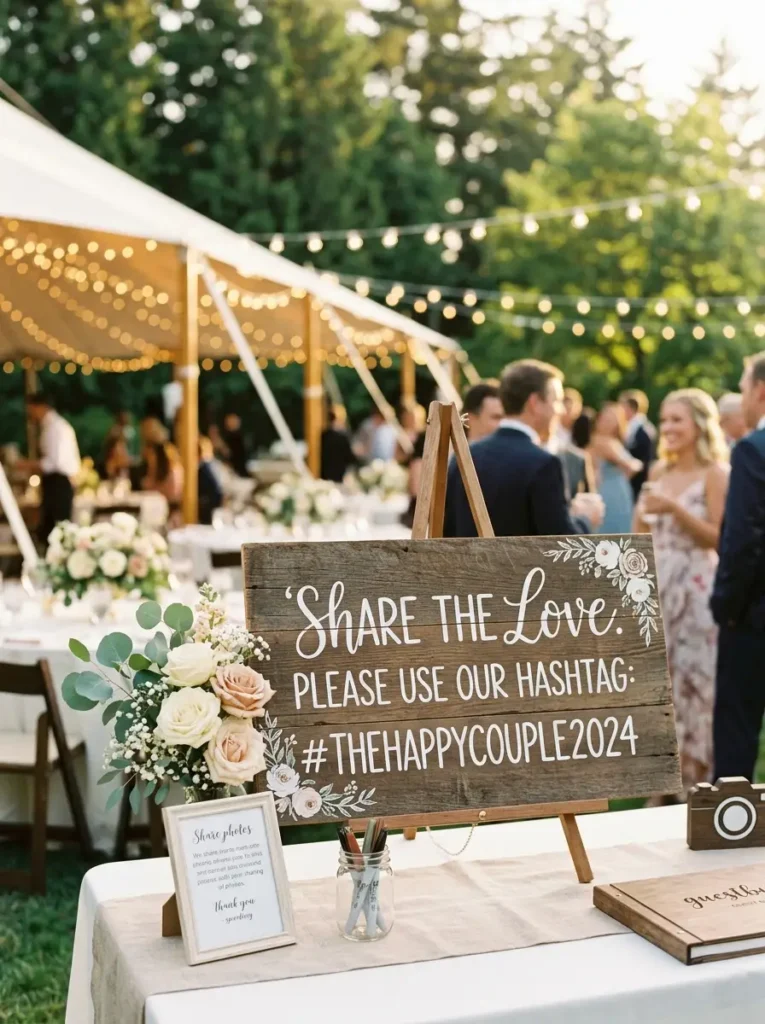
How to make it:
This sign benefits from clean, bold lettering since the hashtag itself needs to be readable from a distance. A simple wood board with the hashtag in large letters and a short line like “Share your memories” above it works well. Display near the photo booth area or at the bar.
9. Order of Events Sign
A ceremony program sign near the entrance tells guests what to expect without requiring individual printed programs (which saves paper and printing costs).
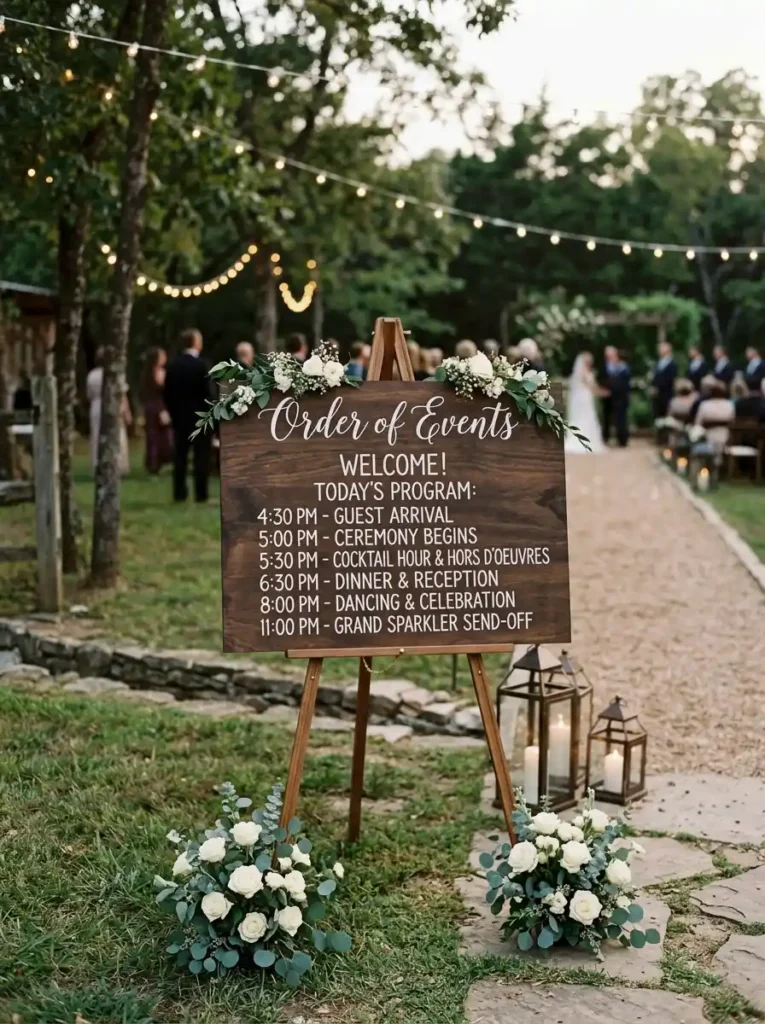
How to make it:
Use a larger board — at least 16 by 24 inches. List each element of the ceremony in order with simple timing notes. Keep the typography clean and hierarchical: ceremony title at top in larger lettering, each event item in smaller but equally sized text below. A thin border or small floral detail in the corners frames the content nicely.
10. Sweetheart Table Sign
A small personalized sign for the couple’s table adds a detail that photographs well and distinguishes their space from the other tables.
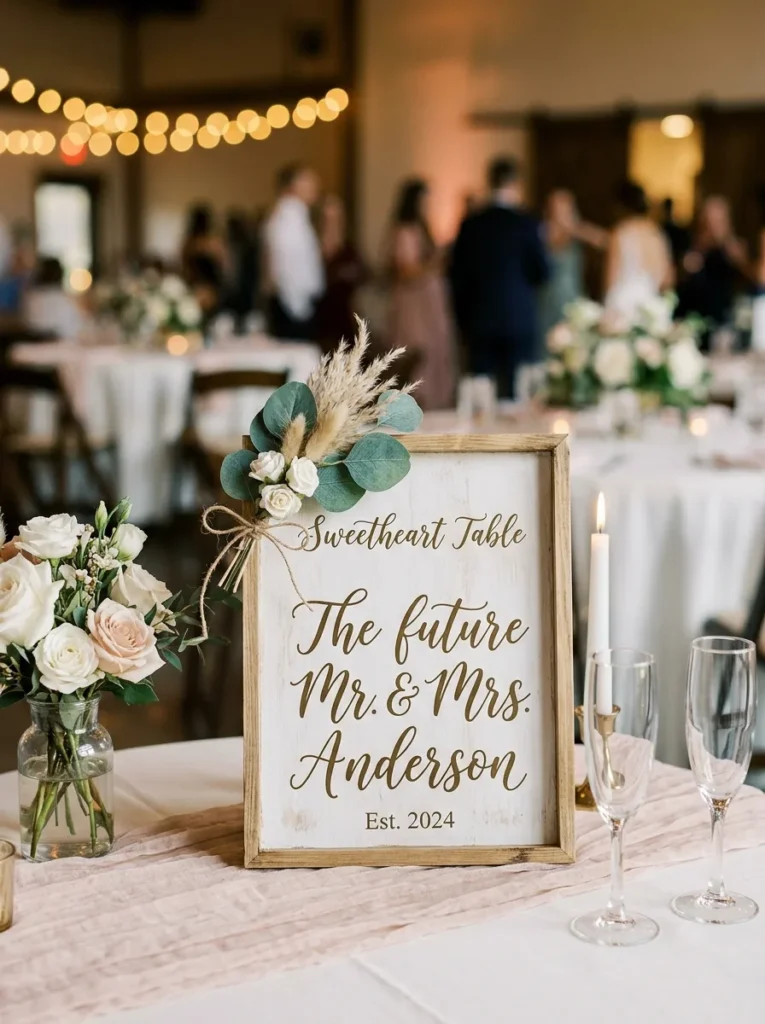
How to make it:
A small wood board or an acrylic piece with the couple’s last name, initials, or “The Bride & Groom” lettered in a flowing script works perfectly here. Add a small dried flower or a ribbon detail at the corner for a polished finish. Lean it against the floral centerpiece or prop it in a small easel.
11. Dessert Table Sign
A dessert or cake table sign adds personality to the sweets display and gives the area a pulled-together, styled look.
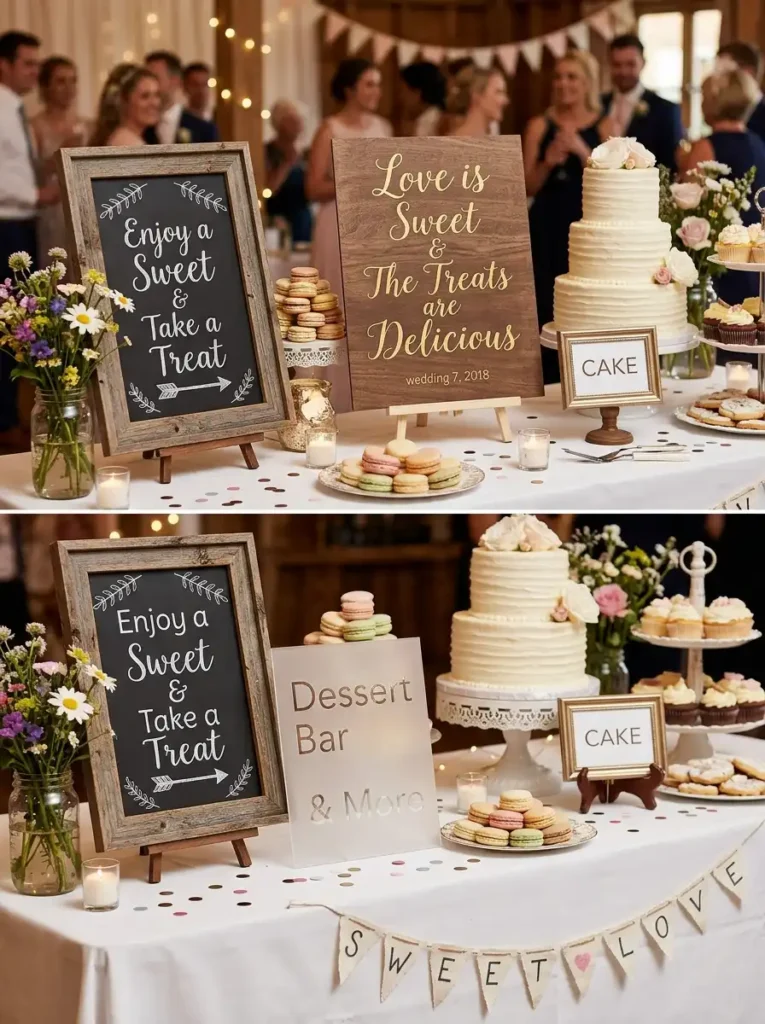
How to make it:
Try something beyond a plain label — a phrase like “Sweet Beginnings” or “Love is Sweet” above the couple’s name and wedding date feels more personal. Use a small chalkboard frame or a painted wood plaque. Add illustrated details like small stars, hearts, or a simple cake outline if your artistic confidence allows it.
12. Send-Off Sign
A send-off sign tells guests what to do as the couple exits — whether they’re tossing petals, blowing bubbles, waving sparklers, or simply cheering.
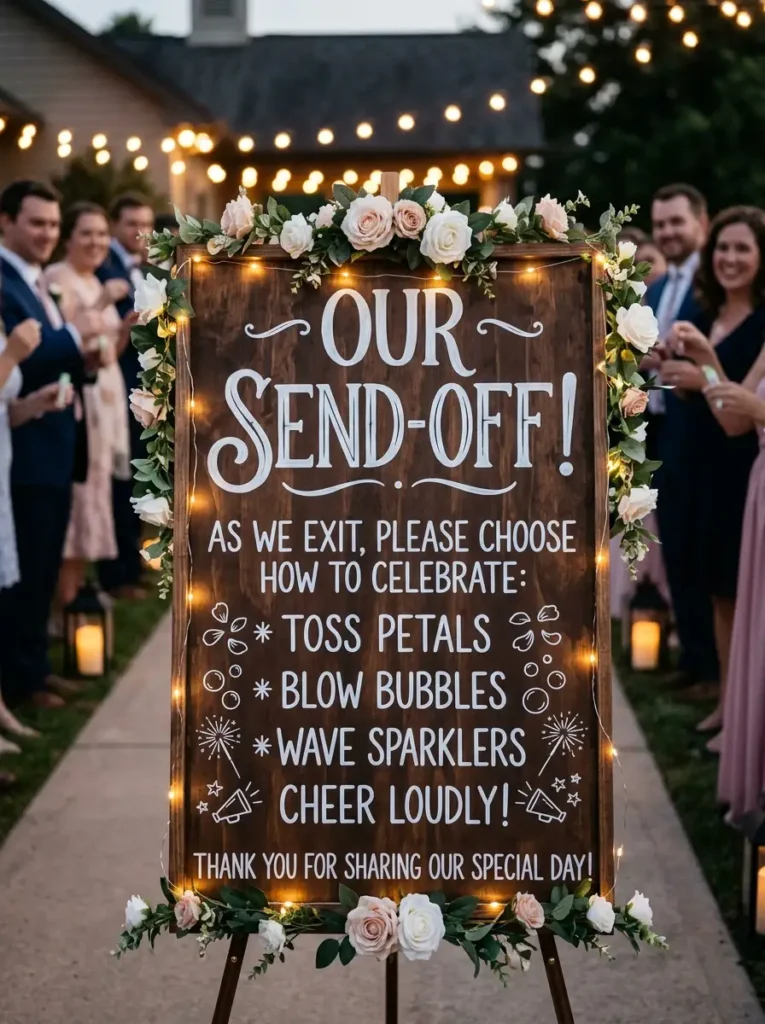
How to make it:
A small basket or box of send-off supplies paired with a sign reading “Grab a handful and send them off in style” (or similar wording matched to the activity) creates a self-explanatory station guests can follow without being directed. Letter on a simple wood stake sign that can be placed directly in the ground beside the basket, or attach a small card to the basket handle.
Lettering Tips for Non-Calligraphers
You do not need to be a professional calligrapher to create beautiful wedding signs. What you do need is a method that makes your lettering consistent and intentional.
Use pencil first, always. Sketch your entire layout in light pencil before touching a marker or paint pen to the surface. This lets you adjust spacing, sizing, and alignment without consequences.
Vary your letter sizes deliberately. The most common mistake in hand-lettered signs is making all the text the same size. The primary words (names, key phrases) should be noticeably larger than the supporting text. This creates visual hierarchy that guides the eye naturally.
Slow down on curves. Curved letters like O, C, G, S, and Q are where most lettering loses confidence. Practice these individual letters on paper before attempting them on your sign surface.
Embrace inconsistency in script. Script lettering does not need to be perfect — in fact, slight variation is what makes it feel human and warm rather than digitally produced. What you do want to keep consistent is the angle (lean all letters the same direction) and the overall weight of your strokes.
Use guidelines. Draw very light pencil lines across your sign surface to keep your lettering on a consistent baseline. These erase easily after the paint or marker dries.
Common Mistakes and How to Avoid Them
Overcrowding the surface. A sign with too much text or too many design elements loses its impact. Negative space is not wasted space — it makes what you do include more readable and more elegant.
Skipping the seal coat. Outdoor signs that are not sealed with a protective spray will be vulnerable to moisture, and your lettering can smudge or run. Always seal signs that will be placed outside or handled frequently.
Inconsistent sizing across multiple signs. If you are making ten table number signs, they all need to look like they belong to the same family. Make a simple template — trace your letters or use stencils — to keep the size and style consistent.
Choosing fonts that are hard to read. A heavily ornate script might look beautiful on a design screen, but if guests cannot read the seating chart quickly, you will have a traffic jam at the cocktail hour. Balance decorative script for headers with clear, readable print for names and details.
Rushing the drying time. Paint pens and chalk markers need adequate drying time before you handle the sign. Give each layer at least 30 minutes, and ideally overnight before stacking or transporting.
Displaying Your Signs at the Venue
A beautiful sign displayed poorly loses half its impact. Plan your display setup in advance.
Easels are the most versatile option. Wooden A-frame easels work for most sign sizes and feel natural in both outdoor and indoor settings. Gold metal easels have a more modern look. Bring zip ties or floral wire to the venue so you can secure signs in place if wind is a concern.
Stakes and risers work well for outdoor ceremonies where signs need to stand in grass or soil. Pre-cut wood stakes can be attached to the back of sign boards with strong adhesive or small nails.
Leaning against surfaces works for larger, heavier signs like mirrors or big wood boards. Lean them against a solid wall, tree, or structure and ensure there is no risk of tipping, especially in outdoor settings.
Hanging with ribbon is lovely for doorway signs, altar decorations, and pew markers. Use wide ribbon in the wedding palette color for a coordinated look.
A Realistic Timeline for Making Your Signs
| Timeframe Before Wedding | What to Complete |
|---|---|
| 8 to 10 weeks out | Purchase all supplies, finalize wording for each sign |
| 6 to 8 weeks out | Make large statement signs (welcome sign, seating chart backing) |
| 4 to 6 weeks out | Complete bar menu, ceremony program, table markers |
| 2 to 4 weeks out | Finish smaller signs (reserved, hashtag, dessert table) |
| 1 week out | Touch up any imperfections, seal outdoor signs, organize for transport |
| Day before | Pack all signs and display supplies together with setup instructions |
Finishing Touches That Make Handmade Signs Look Professional
The difference between a DIY sign that looks homemade and one that looks like it came from a boutique stationery shop often comes down to finishing details.
Add natural elements. A small bundle of dried eucalyptus, pampas grass, or a single silk bloom tucked into a corner or tied to the sign frame immediately elevates the look.
Use ribbon consistently. If you tie ribbon to any of your signs, use the same ribbon throughout. Pick one color and width and stick with it — this small decision ties all your signage together visually.
Frame smaller signs. A small lettered card in a simple gold or wood frame looks dramatically more professional than the same card unframed.
Check your signs in natural light. Venues look different in daylight versus indoor lighting. If possible, preview your finished signs in natural light to make sure the lettering is readable and the colors look as expected.
The Bigger Picture
Wedding signs are one of those details that guests absorb without consciously registering. Nobody walks into a reception and announces that the signage changed their life. But when the welcome sign is warm and the bar menu is charming and the table markers are beautiful, the whole space feels curated and cared for. That feeling is what people remember when they think about your wedding years later.
And if you made those signs yourself — spent an afternoon at the kitchen table with music playing and a chalk marker in your hand, getting the lettering just right — then every time you walk past one of those photos, you will remember that too.